
The Game Instance is one the most important blueprint classes in an Unreal Engine 4 game.
In this guide we will go through what the Game Instance does and how to use the game instance in Unreal Engine 4.

What is the Game Instance
The game instance is a manager class that is not destroyed when changing levels in your game.
This means data such as player health, score, ammo and more can be stored between levels.
The data is kept as long as the game is running.
Once you close your game the data is lost!

Creating your Game Instance
Creating the Class
To create the Game Instance class, right click anywhere in your content browser at the bottom and click ‘Blueprint Class’.
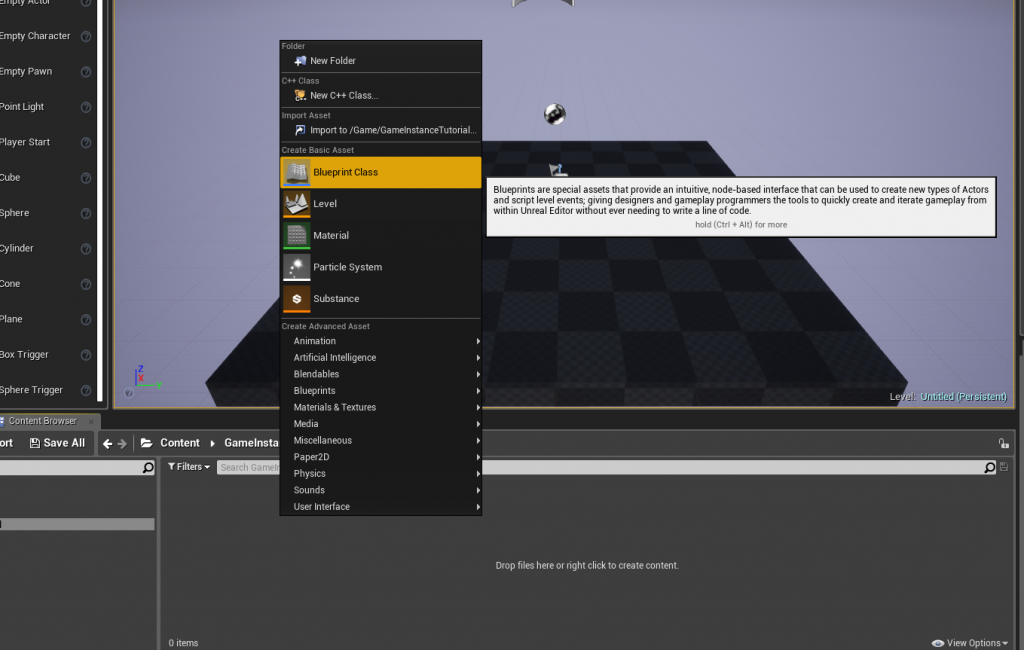
A new dialog box will show and ask which parent class you wish to make.
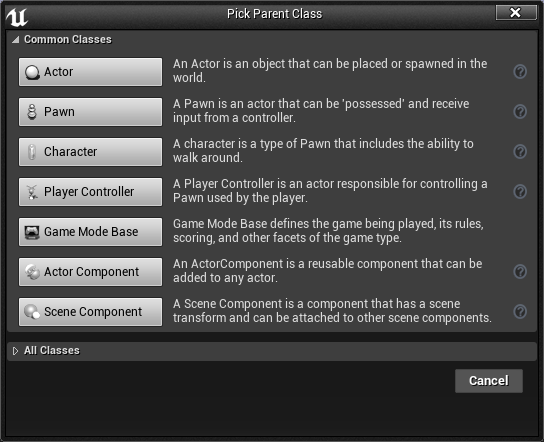
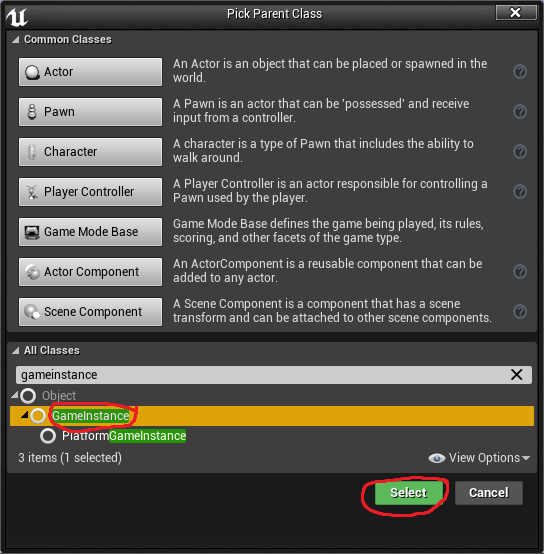
To create the Game Instance class we need to click the ‘All Classes’ drop down at the bottom.
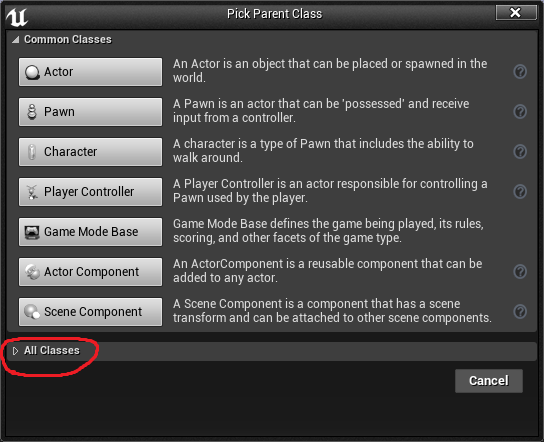
Clicking this will now show all the classes we can create.
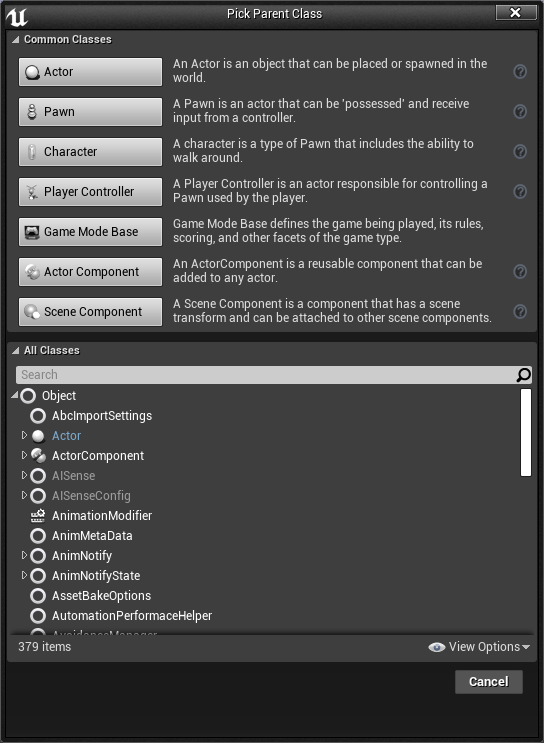
In the search box type Game Instance, click the GameInstance text and then click select to create our new Game Instance.
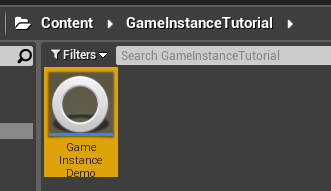
Now after naming your new Game Instance, it will be shown in the content browser.
Adding Variables
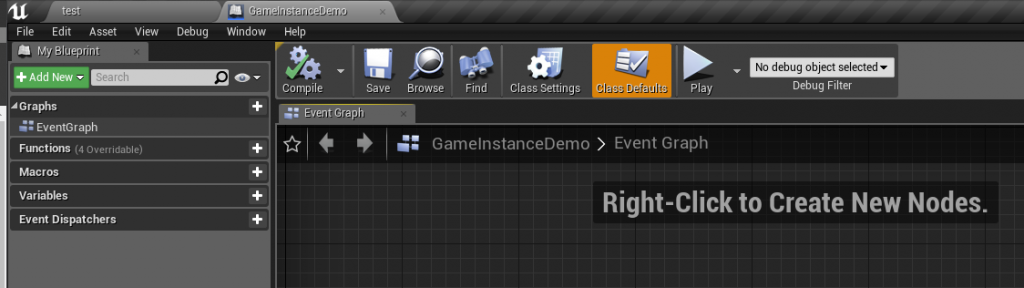
Firstly, to add variables to your new Game Instance, simply double click to open the blueprint editor.
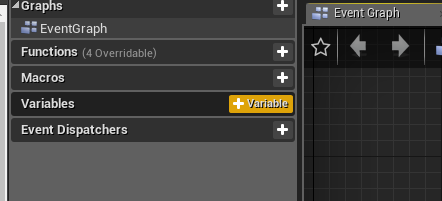
On the left hand side click the + Variable button to add a new variable.
For this example I have created a Float variable called Health that has a default value of 100.
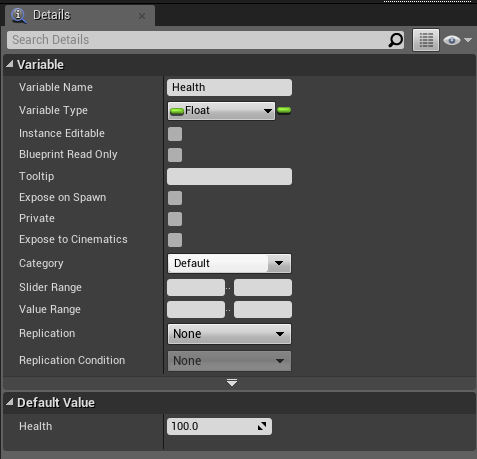
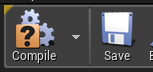
When you are done creating your variables make sure to compile and save!
Accessing your Game Instance
Configuring the Project Settings
Firstly, before you can access your game instance, you will need to configure the game to use the new Game Instance that we just created.
This is a very simple step and only takes a few clicks.
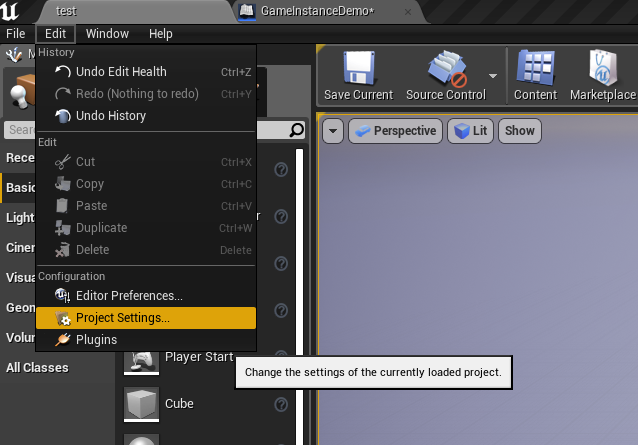
Click edit in the top right, then click on Project Settings.
Once the Project Settings window opens, search for the Maps & Modes option and click on it.
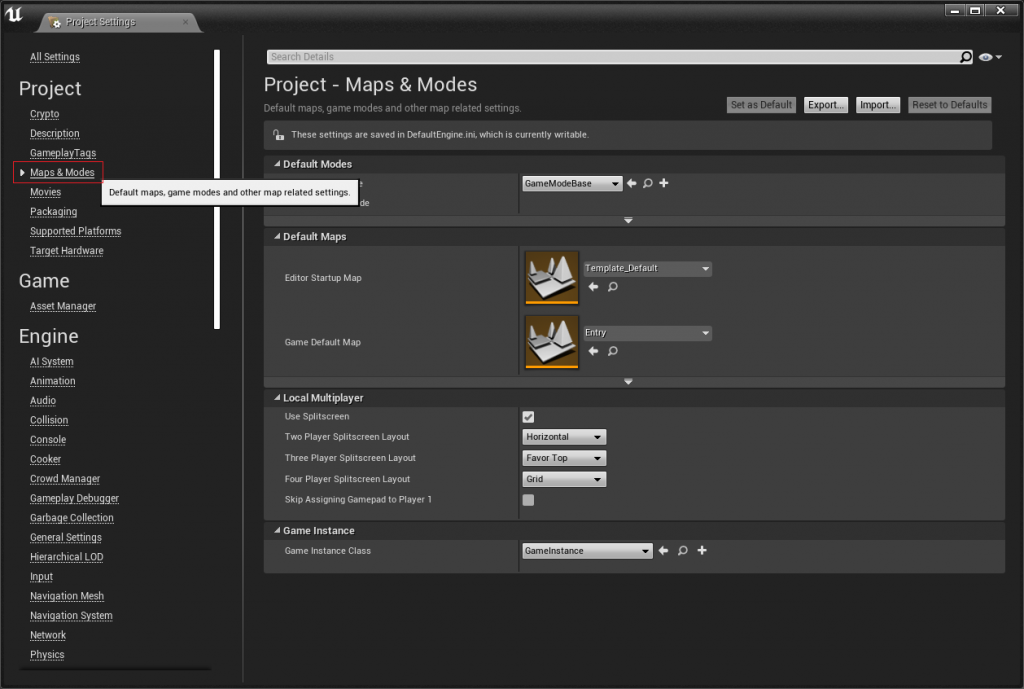
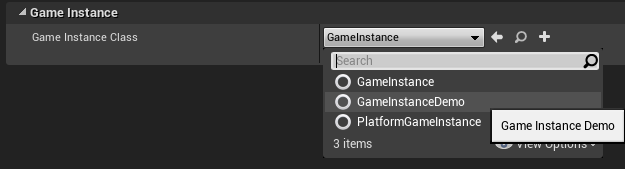
At the bottom of the Maps & Modes section look for the Game Instance Class drop down box.
Click this box and select your new Game Instance class. In my case, I named mine GameInstanceDemo in the previous step.
Accessing and Setting the Variables
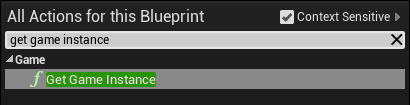
To start using your Game Instance right click in any of your blueprints (characters, actors etc) and type get game instance.
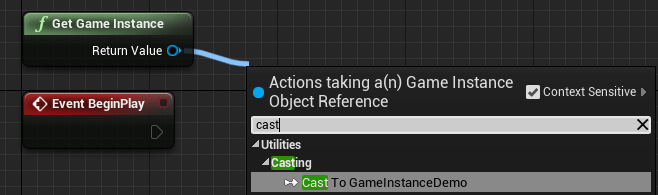
This will retrieve the game instance with your set variables.
From the pin of the Get Game Instance node create a cast node to your newly created Game Instance Class.
This cast node is named the same as your Game Instance set earlier.
From this new cast node you can set and get the values of your Game Instance variables.
In this example I will set the health value to 50 and load a new level which will print out the value. This value will stay the same as the Game Instance values are kept over different levels.
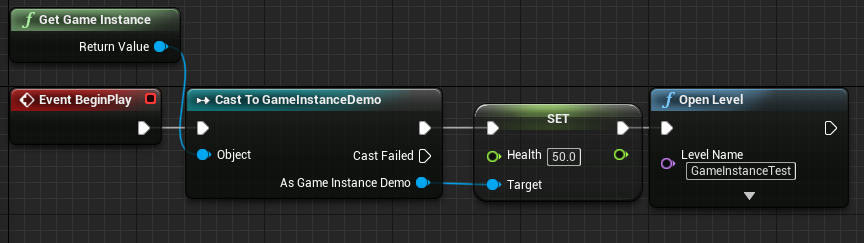
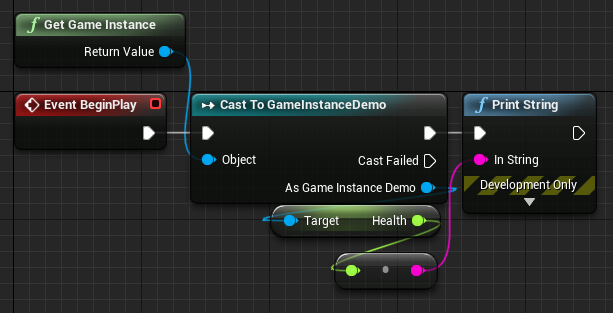
Loading the second level will print out the value of Health from our Game Instance. As this value was set to 50 in the first level the print string node will print the value 50 on the screen.

Conclusion
Now that you have the knowledge to use the Game Instance in your Unreal Engine 4 game, you can now adapt this to your user interface through the widget system or onto your player character.
Doing so will give you the ability to switch levels without losing player values such as health, ammo and quest progress.
Those are only a few examples of what the Game Instance can do but there are many more ways to use saved values.
More Complex Uses
Using Discord Rich Presence in your game can be easily accessed by storing the Discord object in the Game Instance.
Click here to learn how to add Discord Rich Presence into your Unreal Engine 4 game.
Leave a Reply