
Included first in Unreal Engine version 4.17, the new audio engine gives developers access a wide array of powerful features and the accompanying blueprint nodes to create and control oscillators, synths and much more.
Configuration
Config Directory
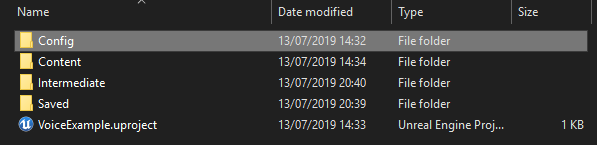
All files that we will be creating or editing will be in the config folder. To find this folder navigate to your project folder and open the config folder.
Enabling the Features
Here I will show you how to enable the new audio engine for each platform.
You only need the folder and files for the platform that you wish to build your game for.
Here are the platforms and their folder names:
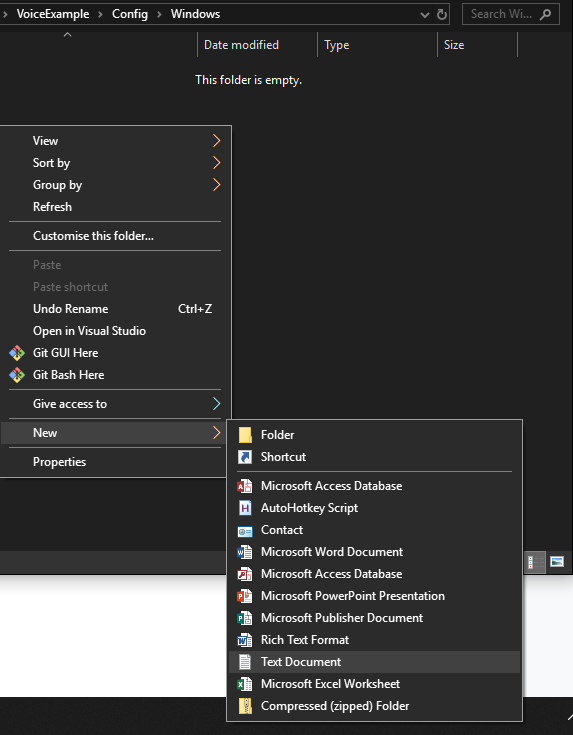
Inside the platform folder that you wish to use we need to create the configuration file for that platform.
To create these folders right click in the folder and create a new text document. From there you can change the name and extension to make it work with the engine.
Configuration File Names
Windows Folder – WindowsEngine.ini
MacOS Folder – MacEngine.ini
iOS Folder – IOSEngine.ini
Android Folder – AndroidEngine.ini
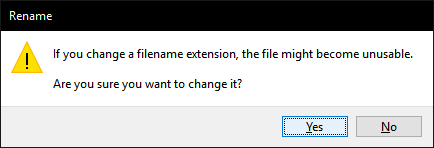
Make sure the extension is exactly .ini for the engine to understand the file.

If this alert box shows press YES to create the file.
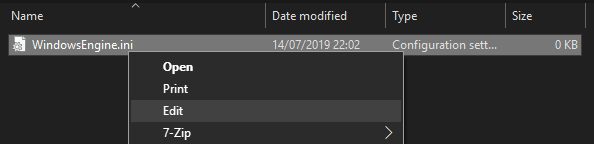
If done correctly the file type should be “Configuration setting”.

To edit .ini files, right click the file and click on the edit option.
WindowsEngine.ini
Open WindowsEngine.ini, copy and paste this into the text editor then save and then quit:
[Audio]
AudioDeviceModuleName=AudioMixerXAudio2
MacEngine.ini
Open MacEngine.ini, open copy and paste this into the text editor then save and then quit:
[Audio]
AudioDeviceModuleName=AudioMixerAudioUnit
IOSEngine.ini
Open IOSEngine.ini, copy and paste this into the text editor then save and then quit:
[Audio]
AudioDeviceModuleName=AudioMixerAudioUnit
AndroidEngine.ini
Open AndroidEngine.ini, copy and paste this into the text editor then save and then quit:
[Audio]
AudioDeviceModuleName=AudioMixerAndroid
This is all you need to tell the engine what audio engine to use. The next step is to enable the plugins so the editor gives you access to the blueprint nodes and additional audio blueprint classes.
Enabling the Plugins
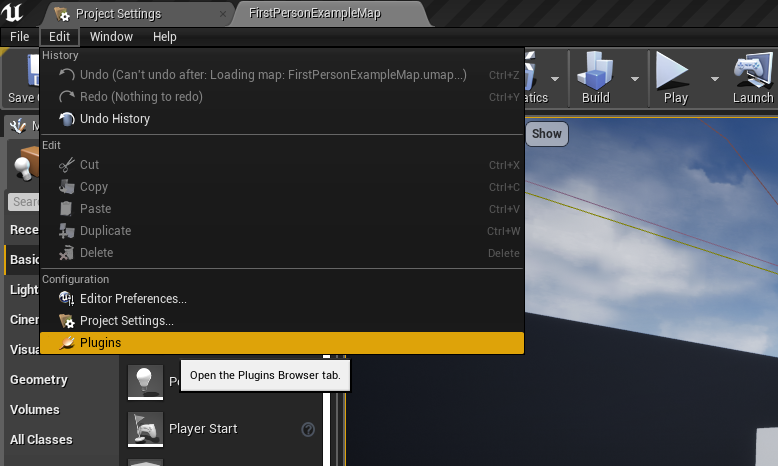
To access the plugin browser press Edit then plugins from the drop down menu.
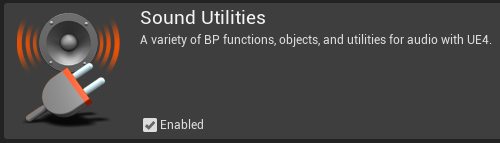
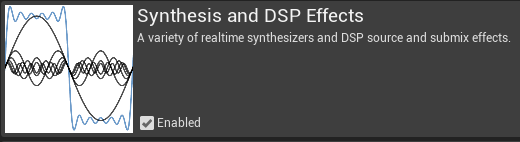
The two plugins we need to enable are in the Audio section of the plugins browser:
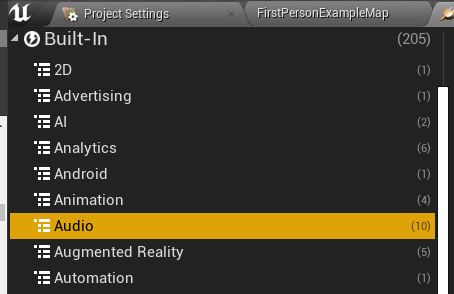
Enable the sound utilities and Synthesis and DSP effects plugins
The final step left to do is to restart the editor.

Conclusion
You are all set! There are many powerful tools in the new audio engine for you to now use in your new or existing projects. My main use for the new audio engine is to control the VOIPTalker component with audio effects through a source effect chain.
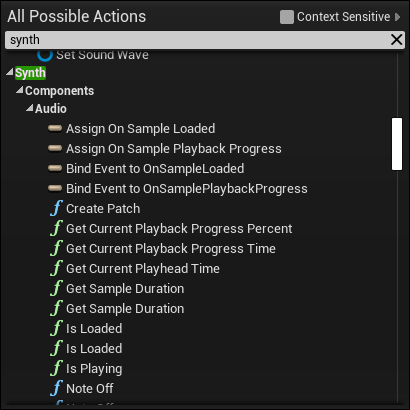
As the new audio engine is experimental not much documentation exists. I encourage you to create a new blueprint and look through all of the synth nodes and make something new. The best way to learn how these systems work is to dive headfirst and play around with it.
So hey, the “Windows” file only exists from the epic-games/engineversion/folder. I tried this technique (trying to get down VOIP) and unfortunately there is already a bit of coding for audio:
____________________________________________________________
[Audio]
AudioDeviceModuleName=XAudio2
; Defining below allows switching to audio mixer using -audiomixer commandline
AudioMixerModuleName=AudioMixerXAudio2
; Defines a platform-specific volume headroom (in dB) for audio to provide better platform consistency with respect to volume levels.
PlatformHeadroomDB=-3
UseAudioMixer=true
[TextureStreaming]
; PoolSizeVRAMPercentage is how much percentage of GPU Dedicated VRAM should be used as a TexturePool cache for streaming textures (0 – unlimited streaming)
PoolSizeVRAMPercentage=70
[Engine.DeviceConfiguration]
ConfigClass=/Engine/DeviceProfiles/SetDeviceProfileWindows.SetDeviceProfileWindows_C
[SystemSettings]
r.setres=1280×720
framepro.ScopeMinTimeMicroseconds=10
fx.NiagaraAllowRuntimeScalabilityChanges=1
[PlatformCrypto]
PlatformRequiresDataCrypto=True
[Audio] <—-(I added this at the bottom)
AudioDeviceModuleName=AudioMixerXAudio2
__________________________________________
What am I doing wrong? I can't seem to get it to work.
Which Unreal Engine version are you using?
You have defined the [Audio] section twice which may confuse the configuration settings.
Newly created projects do not have any [Audio] related configuration.
The Windows folder needs to be created during the guide and won’t be in your project folder by default.
Hi,
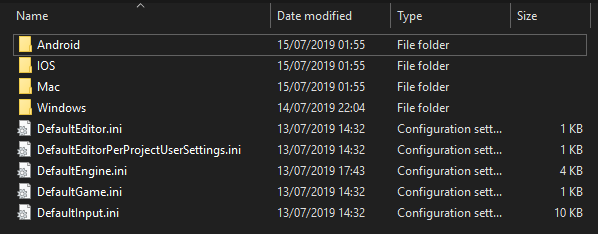
I don’t the platforms and their folder names in the config file, the config file only has the following:
DefaultEditor
DefaultEngine
DefaultGame
DefaultInput
So I added the platform file manually and added .ini file in it, however, it doesn’t seem to convert the text file to the configuration setting (I did as the same as above) am I doing something wrong?
Also, How do I know if my microphone can be heard in unreal? I used the AudioCapture and try to use the “On audio envelope value” event but it doesn’t seem to detect any mic at all?
Me and my friend’s mics work in all other application but unreal can’t seem to find our mic, is it because of the configuration setting file? Been stucking on this problem for hours right now
Thanks for your help in advance, if you need any more details, please tell me.
Noted that I’m using unreal version 4.26.2 for my game development
Since this isn’t too old, you might be running into the old windows issue of file extensions not being visible or editable (which is so dumb btw). All you need to do is enable “File Name Extensions” in the “View” tab of your file explorer.